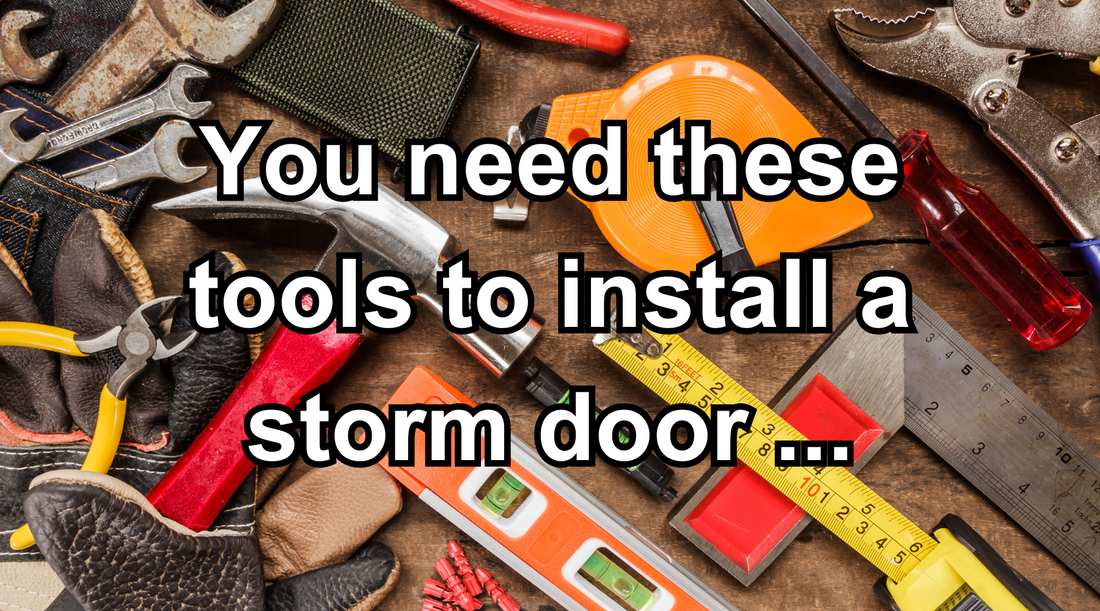
Installing a storm door can be a fun and rewarding DIY project. It’s like putting together a big puzzle where you get to use different tools to make all the pieces fit perfectly. If you’re thinking about adding a storm door to your home, you'll need some specific tools to make sure you can get the job done right. Here’s a list of the tools you’ll need and a little bit about what each one does:
1. Tape Measure
A tape measure is super important because it helps you make sure the storm door you pick will fit in your doorway. Before you start, you need to measure the height and width of your door frame. This way, you won't buy a door that's too big or too small.
2. Level
A level is a tool that makes sure everything is perfectly horizontal or vertical. When you install your storm door, you need to make sure it's not leaning to one side. If it's not level, your door might not close properly.
3. Drill and Drill Bits
You’ll need a power drill to make holes in your door frame for the screws. Drill bits are the parts you attach to the drill to make holes of different sizes. Make sure you have the right size bits for the screws that come with your door.
4. Screwdriver
A screwdriver might be needed to tighten the screws that hold your door in place. Sometimes it’s easier to use a screwdriver for smaller screws because it gives you more control than a drill.
5. Hammer
Sometimes you might need a hammer to gently tap parts into place. You have to be careful not to hit too hard, though, because you don’t want to break anything.
6. Utility Knife
A utility knife is really sharp and can cut through lots of materials. You might need it to trim the weather stripping, which keeps cold air out in the winter and warm air out in the summer.
7. Caulk Gun and Caulk
Caulk is like a special glue that helps seal gaps. After you install the storm door, you might see small openings around the edges that could let in drafts. Using a caulk gun, you can fill these gaps to make your door more energy-efficient.
8. Pencil
A pencil is handy for marking where you need to drill holes or make cuts. It’s much easier to erase pencil marks than ink if you make a mistake.
9. Hacksaw
Sometimes the parts of the storm door kit might be too long for your doorway, and you’ll need to cut them to fit. A hacksaw can cut through metal, which is what some parts of the storm door frame are made from.
10. Safety Glasses
Safety glasses protect your eyes from dust, debris, or anything else that might fly up while you are drilling or sawing.
11. Work Gloves
Work gloves keep your hands safe from sharp edges and splinters, and they can also help you grip tools better.
Before You Start:
Before you start, it’s really important to read the instructions that come with your storm door. Each door is a little different, and the instructions will tell you exactly how to install your specific door. Also, it’s a good idea to ask someone to help you because some steps might be easier with an extra pair of hands.
Conclusion
Installing a storm door can seem like a big job, but with the right tools and a bit of patience, it’s definitely something you can do on your own. Just make sure you have all these tools ready before you start, and don’t rush through the steps. Taking your time will help you do a better job, and soon you’ll have a new storm door that looks great and works perfectly!

